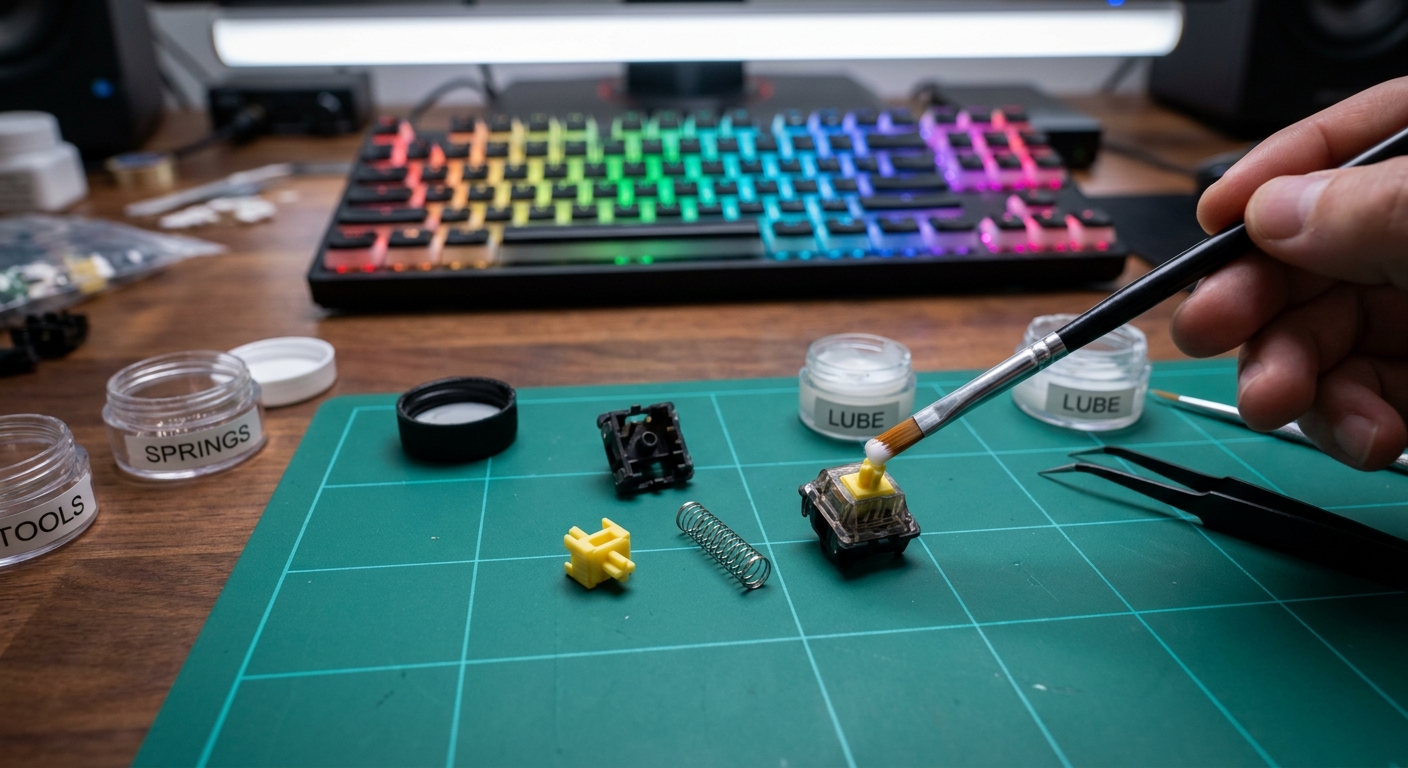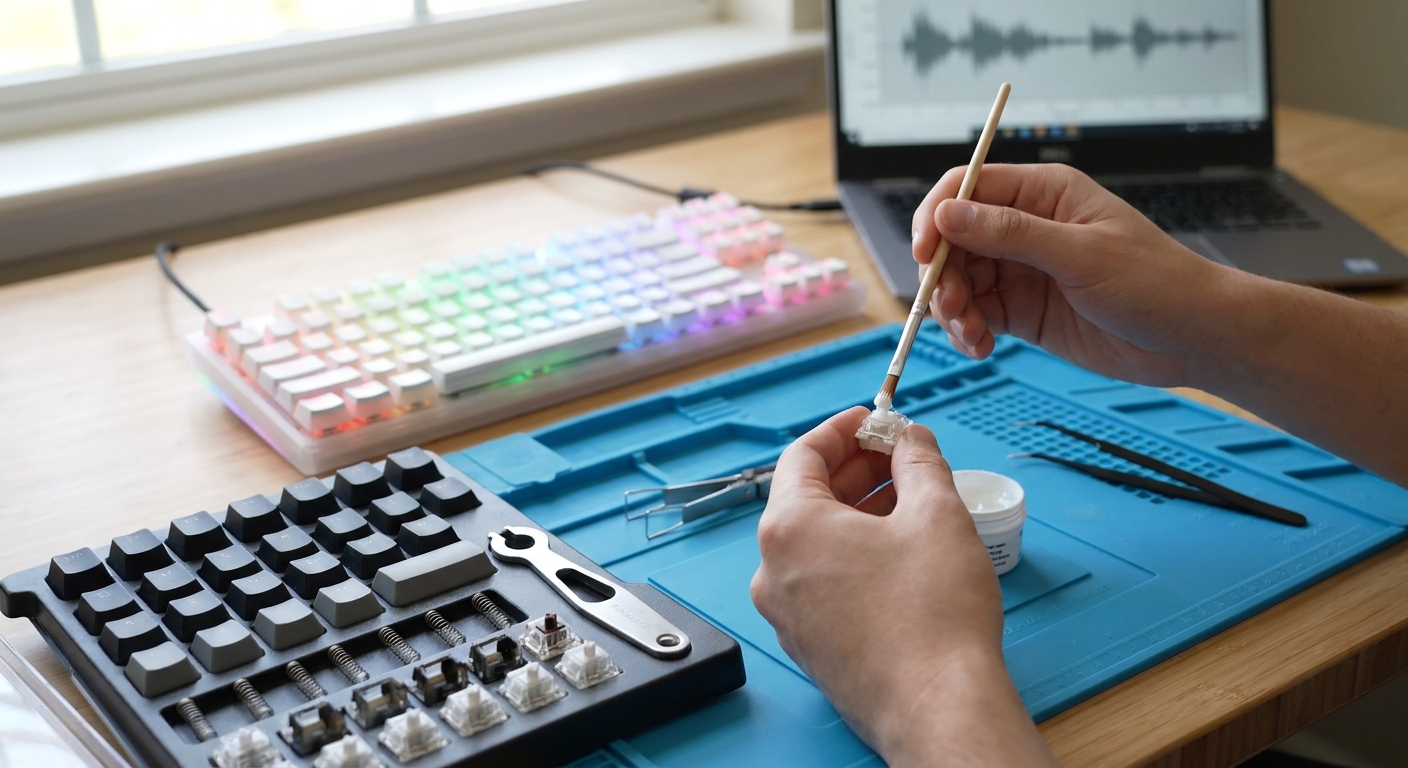
Mechanical keyboard modding can feel like chaos: everyone tells you to lube everything, buy boutique switches, and foam your case until it’s a pillow. The reality is more structured.
The Mod Ladder: Stop Guessing, Start Upgrading With Purpose
Think of mods as a ladder. Each rung gives you a predictable improvement in sound and feel. Climb in order, and you’ll avoid wasting time on low-impact tweaks while ignoring the big wins.
This article lays out a 10-step mod ladder focused on lubing and acoustic tuning, with honest gear suggestions and what each step actually does for your board.
Rung 1: Spring Lubing – The Fastest, Easiest Upgrade
Before you open every switch to paint stems, tackle the noisiest offender: spring ping and crunch.
What It Does
- Removes metallic "ping" on press and return.
- Smooths feel without changing switch character.
How To Do It (Bag Method)
- Pull all stems & springs (or spare springs if you’re swapping weights).
- Toss springs into a small ziplock or glass jar.
- Add 3–5 drops of Krytox 105 or similar thin oil.
- Shake gently for 30–60 seconds.
- Pour springs onto a paper towel, let excess oil wick away.
Recommended Use Cases
- Harsh, pingy linears like many budget Gaterons or Kailhs.
- Stiffer springs (67g+) that "twang" on fast typing.
You’ll be surprised how much cleaner the board sounds with only spring lubing.
Rung 2: Basic Switch Lubing – Linears First
Once springs are sorted, move up to full lubing on linears. They respond the best and most predictably.
What Changes
- Sound: From plastic crunch to deep, singular clicks per key.
- Feel: Gliding travel, clean bottom-out, less sandiness.
Technique (Minimalist, But Effective)
- Lube: Krytox 205g0 or similar.
- Targets:
- Bottom housing rails.
- Stem sides (light coat).
- Stem legs & pole (very light).
- A useful rule: If you can see visible white streaks, you used too much.
Switch Suggestions
- Budget: JWICK linears, KTT Rose / Hyacinth V2.
- Mid-tier: Gateron Oil Kings, HMX series.
Do an A/B test: leave 10 switches unlubed and 10 lubed on the same row. The difference in sound consistency will sell you.
Rung 3: Lube Tactiles Without Murdering the Bump
Tactiles demand restraint. The goal is to remove leaf scratch and annoying noise while keeping the tactile event intact.
Key Principles
- Use a thinner lube: Tribosys 3203/3204, or very thin layers of 205g0.
- Focus on:
- Housing rails.
- Stem sides.
- Be extremely cautious on legs: that’s where bump character lives.
Reference Settings
- Want sharp bump (e.g., Holy Pandas, U4Ts)?
- Want rounded bump (e.g., T1s, light tactiles)?
→ Avoid leg lubing; only touch rails & sides.
→ Very gentle pass over legs if they feel scratchy.
Test one switch first. Plug it into a hot-swap socket, type a sentence, then commit to the rest.
Rung 4: Stabilizer Overhaul – The Sound Floor Fix
Even if you refuse to lube every switch in a 96-key layout, you must fix your stabs. They're the loudest, worst-sounding parts on 90% of boards.
What a Properly Modded Stabilizer Should Sound Like
- Spacebar: One solid, low-pitched thump. No tick, no rattle.
- Enter / Shift / Backspace: Slightly higher pitch, but still clean.
The Three-Point Stab Mod
Good hardware
- Switch from cheap plate-mount to PCB screw-ins if possible. - Honest picks: Durock V2, TX, Owlstabs.
Wire lube
- Thicker grease (dielectric, XHT-BDZ sparingly) where the wire sits in the housing. - Focus on contact points, not the entire wire length.
Band-aid / Holee combo
- Band-aid or cloth tape on PCB under stab feet. - Holee mod: Thin band-aid or tape strip around wire ends inside the stem.
Once you do this properly, your board immediately sounds "expensive" even if the case is budget plastic.
Rung 5: Switch Films – Taming Housing Wobble & Reverb
Not every switch needs films, but for those that do, the improvement is real.
What Films Fix
- Side-to-side housing play.
- Higher-frequency reverberation from loose housings.
- Slight pitch consistency issues between keys.
When to Film
- Older Gateron and many JWK switches benefit a lot.
- Tight HMX or newer Gats may not need them; check for wobble first.
How To Choose Films
- PC / PET films (0.125–0.15 mm): Standard, safe choice.
- HTV / soft films: Slightly different fit, can thicken housing contact for more depth.
Install films when you lube: bottom housing → film → top housing. If your switch becomes difficult to close, your films are too thick.
Rung 6: Keycap Profile & Plastic – Swapping Your Board’s Voice
Think of keycaps as the "EQ" of your build. You already did the source (switches & stabs); now shape the tone.
Material Impact
- PBT (thick)
- Lowers pitch, slightly softer edges on sound.
- Great for deeper, more muted builds.
- ABS (thick, GMK-style)
- Increases crispness and top-end presence.
- Classic, satisfying "clack" if the rest of the build supports it.
Profile Impact (Feel + Sound)
- Cherry: Lower profile, comfy, slightly deeper sound than tall OEM.
- OEM: Taller, often brighter; many prebuilt sets use thin OEM ABS (harsher sound).
- SA / MT3: Tall, sculpted; can turn a balanced build into a full-on thock cannon.
- DSA/XDA: Uniform, low-mid; sound tends to be more even and slightly muted.
Try this experiment on a single lubed build:
- Put on thin ABS OEM caps: note the brightness & sometimes hollowness.
- Swap to thick PBT Cherry: note the lower pitch and tighter sound.
- If you can, test MT3/SA to hear the resonance step up.
Rung 7: Foam – Not a Band-Aid, a Precision Tool
Foam is often misused as a cure-all. Use it deliberately, and preferably after you’ve done your lubing work.
Types & Effects
- Case foam (EVA/Poron)
- Fills the empty voids in the case.
- Decreases hollowness, slightly deepens tone.
- Plate foam
- Sits between plate and PCB.
- Reduces sharpness and plate ring, but may reduce "air" and crispness.
- Switch foam / gaskets
- Individual pads or strips around switches.
- Very strong dampening; easy to overdo.
Tuning Strategy
- Start with case foam only. Assemble, test.
- If board is still overly pingy or bright, add plate foam.
- Avoid full-stack foam on everything unless you're deliberately chasing a very soft, muted build.
Rung 8: Tape Mod (Tempest Mod) – Cheap, Reversible, Surprisingly Effective
Painter’s tape on the back of the PCB? It sounds like a meme. In practice, it’s one of the best reversible experiments you can do.
What It Changes
- Adds a bit of flex and bounce to the PCB feel.
- Deepens pitch, sometimes gives a slightly "boingy" flavor to sound.
How To Apply
- Remove PCB from case.
- Apply 1–3 layers of blue painter’s tape to the back, avoiding USB port area and any flex cuts.
- Trim excess so it doesn’t bunch in the case.
Experiment with layer count:
- 1 layer: Subtle, small deepening.
- 2 layers: Noticeable.
- 3 layers: Very characterful, can be too much on already deep builds.
Rung 9: Spring Swaps – Micro-Tuning the Feel
You’ve dialed sound; now refine feel. Spring swapping changes how your fingers interact with the board without touching firmware or keymaps.
Dimensions of Spring Feel
- Weight (e.g., 55g, 63.5g, 67g)
- Curve: Linear vs. progressive/slow springs.
- Length: Longer springs often have more snappy return.
Practical Guidelines
- Fast typists & gamers: 62–67g with snappy return, especially on linears.
- Long writing sessions: 55–60g for lower fatigue, especially on tactiles.
- Minimize accidental presses: A hair heavier or progressive springs.
Keep the same switch type, change only springs. You’ll quickly learn how much of "feel" is just spring physics.
Rung 10: Hybrid & Franken-Switch Mods – For the Truly Obsessed
Once you've mastered the basics, Franken-switching lets you sculpt signature sounds and feels.
Classic Examples
- Holy Panda family: Halo/Kailh stems in Panda/Boba housings — huge tactility with rich sound.
- U4T-like variants: Mixing silent and thocky components for custom tactiles.
- Custom linears: Smooth JWK stems in tight HMX housings, etc.
What You Need to Watch
- Stem/housing compatibility: Check for binding or inconsistent travel.
- Leaf geometry: Not all leaves play nicely with all stems.
- Spring synergy: You might need to retune spring weight for the new combo.
Franken-switching isn’t mandatory, but it’s the playground where modders who’ve climbed the ladder invent new favorites.
A Sample Climb: Turning a Plain TKL Into a Daily Endgame
Let’s walk through a realistic progression using this ladder.
Starting point:
- Generic TKL, hot-swap, plate-mount stabs, budget linears, thin ABS OEM caps.
Planned path:
- Rung 1 – Lube springs with 105: instant ping reduction.
- Rung 2 – Full lube on linears with 205g0: feel and sound improve dramatically.
- Rung 4 – Swap to Durock screw-in stabs, holee + lube: spacebar stops sounding like loose cutlery.
- Rung 6 – Replace keycaps with thick PBT Cherry profile: pitch lowers, board sounds more cohesive.
- Rung 7 – Add thin case foam only: eliminates hollowness without killing life.
- Rung 8 – Add 2 layers of tape mod: final touch of depth and character.
At this point, you’ve transformed a mid-tier TKL into something many would call endgame, without touching the case, plate, or buying exotic switches.
Honest Gear Recommendations by Mod Stage
To keep it real, here’s what consistently works for the community, broken down by ladder rung.
Lubes & Consumables
- Springs: GPL 105 / Krytox 105.
- Linears: Krytox 205g0.
- Tactiles: Tribosys 3203/3204, or very light 205g0.
- Stabs: Dielectric grease or XHT-BDZ (wire), 205g0 (housings).
- Foam/Tape: Poron or EVA sheets, blue painter’s tape, cloth band-aids.
Switches (Safe Picks to Mod)
- Linears: Gateron Oil Kings, HMX linears, JWICK linears, KTT Hyacinth V2.
- Tactiles: Boba U4T, Boba U4, Durock T1, TTC Bluish Whites.
Keycaps
- Thick PBT Cherry: Good default for deeper builds and long typing sessions.
- Thick ABS Cherry (GMK-style): When you want that refined, classic "clack".
These aren’t the only options, but they’re consistent, well-documented, and easy to resell or reuse in future builds.
Final Thoughts: Master the Ladder Before Chasing Exotic Hardware
When you see someone’s build that sounds unbelievably good on a stream, there’s a high chance it’s not because the case cost $500. It’s because they’ve quietly climbed this mod ladder:
- Springs lubed.
- Switches tuned.
- Stabs dialed-in.
- Caps chosen for tone.
- Case & PCB treated as acoustic instruments.
Learn the ladder, climb it one rung at a time, and you’ll reach a point where even your budget boards become keepers. From there, high-end cases and boutique switches aren’t band-aids—they’re just better canvases for the skills you’ve already locked in.