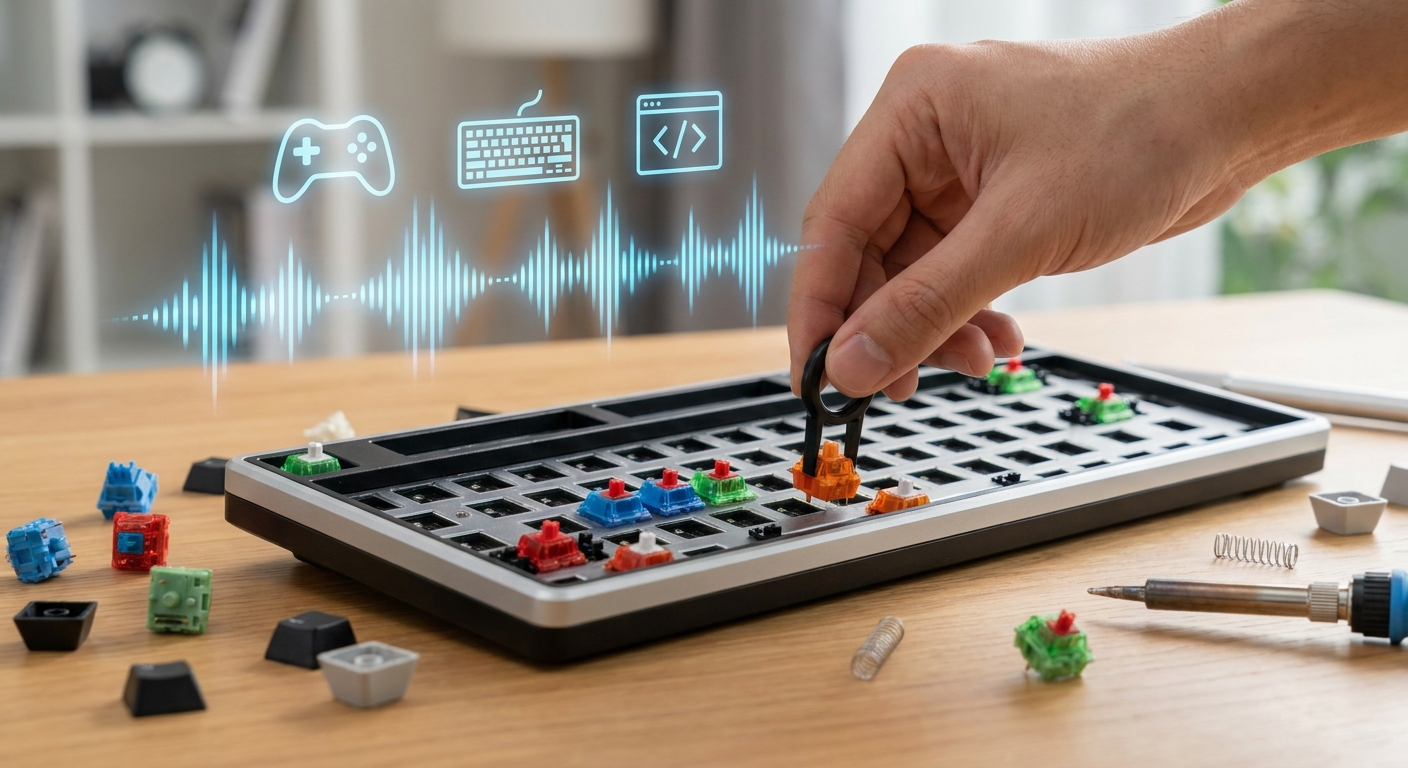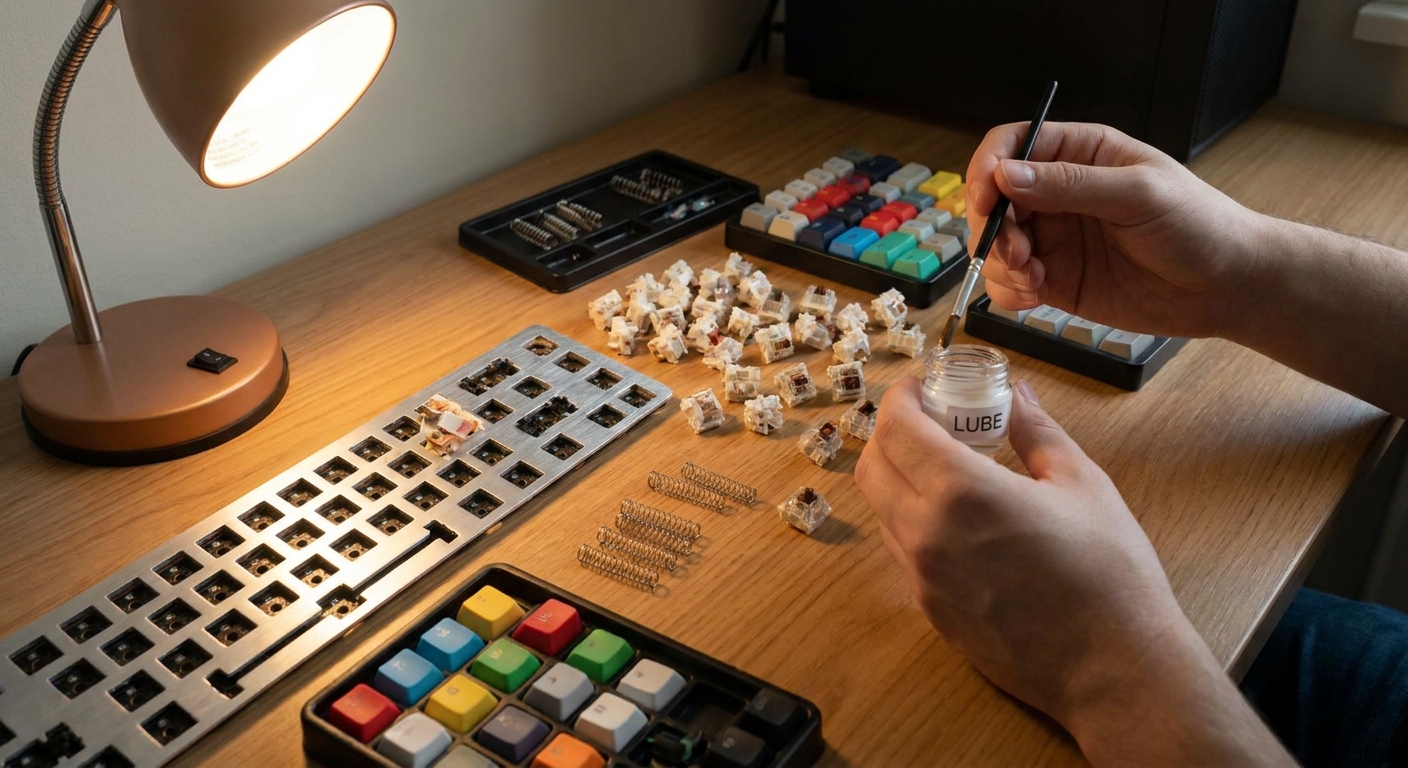
If you hang around any mechanical keyboard Discord these days, you’ll hear a familiar refrain: “Stock is good now.” And that’s partly true—modern switches are miles better than the sandpaper linears of 2018.
Why Switch Tuning Still Matters in 2026
But if you’re the kind of person who can hear stabilizer tick through closed‑back headphones, you already know: stock is just the starting point.
Tuning switches is where you turn a good board into your board. It’s where you dial in:
- The exact level of smoothness you want
- The character of the sound (clack vs thock vs pop)
- The feel of the spring (bouncy vs firm vs snappy)
This guide walks through a detail‑obsessed, modern approach to switch tuning—what’s worth your time in 2026, what’s outdated, and how to get consistent, repeatable results.
Understanding the Building Blocks: Feel and Sound
Before we touch lube, it helps to break switches into two axes:
Feel – smoothness, tactility, wobble, spring weight, and return
Sound – pitch, volume, resonance, and texture
Feel: What You’re Actually Changing
- Smoothness – Mostly comes from the stem rails and housing sliders. This is where lube makes the biggest difference, especially on budget linears.
- Tactility – For tactiles, you’re shaping the sharpness and roundness of the bump. Over‑lubing the legs will blunt it; under‑lubing might leave scratch or ping.
- Wobble – Determined by housing tolerances and stem design. Films help a little with wobble, a lot with sound.
- Spring Weight & Feel – Pre-load, actuation force, and bottom‑out weight define the “effort curve.” Spring swapping lets you tune this very precisely.
Sound: The Real Addiction
- Pitch – Lower pitch usually comes from heavier cases (aluminum, brass), polycarbonate plates, and deeper‑sounding switches (POM/nylon housings).
- Texture – "Clack" is sharper and more plasticky; "thock" is rounder and fuller; "pop" is that tight, focused sound you often hear in short‑travel tactiles.
- Consistency – Filmed, well‑lubed switches reduce random variations—no more one key that sounds like it’s on a different keyboard.
Tools and Materials: What’s Actually Worth Buying
A lot of gear recommendations are overkill. Here’s a trimmed, honest list.
Must-Have
- Switch opener – Metal hull‑style opener if you work with multiple brands; the cheap plastic ones wear fast.
- Fine brush (00 or 000) – Synthetic, not the chalky craft brushes.
- Quality lube
- Linears: Krytox 205g0 (or equivalent)
- Tactiles: Tribosys 3204 or a light application of 205g0
- Springs: Krytox GPL 105 or a light brush of 205g0
- Tweezers – For springs and stems.
Nice-to-Have
- Switch films – TX, Deskeys, or Durock films for loose housings.
- Desoldering / hotswap – A hotswap PCB is ideal for learning; you’ll mod more if you can reconfigure easily.
- Switch tester – Even a 6–9 switch acrylic tester is great for quick A/B sound comparisons.
Step-by-Step: Tuning a Linear Switch (Modern Best Practices)
We’ll use a popular baseline example: KTT Peach or Gateron Oil King style linears.
1. Disassembly
- Open the switch with your opener, keeping orientation consistent.
- Lay out: top housing, spring, stem, bottom housing in a repeating pattern so you can batch work.
2. Spring Treatment
You have three realistic options:
- Oil bag method (fast, good enough):
- Put springs in a small bag.
- Add 1–2 drops of GPL 105.
- Shake, then roll to coat, don’t drown them.
- Brush method (slower, more controlled):
- Dab a tiny amount of 205g0 or 105 on the brush.
- Light swipe along the spring length.
- Spring swap (if you don’t like the stock feel):
- Consider 55–60 g long springs if you want a snappier return and lighter pre‑load.
3. Lubing the Housing
For linears, focus on friction points:
- Lightly coat the rails inside the bottom housing where the stem makes contact.
- Avoid drowning the center pole—too much there can mush the bottom‑out sound.
Think “light frost” not “paint layer.” If your brush leaves visible blobs, you’re using too much.
4. Lubing the Stem
- Sides of the stem – Very light coat on the vertical rails.
- Front/back of the stem – Tiny amount; you’re just removing plastic-on-plastic rasp.
- Do NOT lube the stem legs on linears—they don’t do anything functional and just collect excess.
5. Filming (If Needed)
Check a few stock switches:
- If you can wiggle the top housing and hear a faint knock, films may help.
- Install a film centered between top and bottom, making sure it’s not folded.
- Slightly deeper sound
- Less housing rattle
- Occasionally a touch less wobble
Expect:
6. Reassembly and Testing
- Drop the spring into the bottom housing.
- Place the stem (correct orientation) straight down.
- Press the top housing on until all four clips snap.
- Test on a hot‑swap board or tester: listen for pitch, feel smoothness, and note any inconsistent keys.
Do 10–20 first, refine your technique, then commit to a full batch.
Tuning Tactile Switches Without Killing the Bump
Tactiles are easier to ruin. The rule: lube everything except the bump first.
Let’s use Boba U4T, Durock T1, or Gazzew Boba U4 as reference points.
Where to Lube
- Housing rails – Same as linears: light coat.
- Stem rails (sides) – Very thin film only.
- Avoid the tactile legs initially – This is where the bump lives.
As you experiment:
- If the switch is too scratchy: very lightly dust the legs with 3204.
- If the bump feels mushy: you’ve gone too far; reduce lube on legs next batch.
Target Sound Signatures
- U4T – Deep, marbly “thock” with a bit of pop; lube should smooth out harsh highs but preserve that impact.
- T1 – Raindrop tactility; 3204 can transform them from sandy to satisfyingly rounded.
- Boba U4 (silent) – Aim for “tight thud”; over‑lubing the dampening pads can make them feel draggy.
How Keycaps and Profiles Change Your Tuned Switches
You can nail your tuning and still be surprised when you change keycaps. A few practical, ear‑trained notes:
Keycap Materials
- ABS (thinner doubleshot / GMK style)
- Brighter, more resonant.
- Accentuates higher‑frequency clack.
- Great if you like crisp tactiles or poppy linears.
- PBT (thicker, dye‑sub)
- Duller highs, emphasizes lower mids.
- “Thocky” linears (Oil Kings, HMX types) sound more mature with thick PBT.
- May slightly mask subtle differences between similar linears.
Profiles
- Cherry – Lower height, often thicker: focused, controlled sound. The community baseline.
- OEM – Usually thinner walls, slightly brighter and more open.
- SA / MT3 (high‑profile)
- Big resonance chambers; deeper but sometimes hollow if the case isn’t damped.
- Great with solid metal cases and dense linears.
- KAT / KAM – Can sound very clean and even, feel spacious on the fingers.
Tip: When tuning, stick with one keycap set until you’re happy. Then swap sets to see how much of your preference comes from caps vs switches.
Honest Gear Recommendations (2026 Edition)
If you want a solid foundation without endlessly chasing group buys:
Linears to Tune
- Gateron Oil King – Deep, pre‑smooth, benefits from gentle 205g0 and films. Endgame for many.
- KTT Peach / KTT Kang White V3 – Budget champions that transform with lube.
- HMX Macaron / HMX Violet – Modern, ultra‑smooth; respond brilliantly to very light lube.
Tactiles to Tune
- Gazzew Boba U4T – If you want the enthusiast “thock” meme to be real.
- Durock T1 / JWK Tactiles – Versatile, respond clearly to different lubing styles.
- Boba U4 (silent) – Top‑tier silence when tuned right.
Keycaps to Reveal Your Work
- PBTfans / NicePBT – Great thick PBT without hype pricing.
- GMK / Milkyway – If you like brighter, crisp tactility and classic Cherry feel.
- Budget PBT (ePBT, higher‑end Amazon sets) – Look for “thick PBT” and consistent legends; skip ultra‑thin mystery kits.
A Practical Workflow for Your Next Build
- Pick one switch type (linear or tactile) for the build. Don’t mix while learning.
- Tune 10 test switches with slightly different lube amounts. Label them.
- Mount them in the same cluster (e.g., QWER ASDF ZXCV) with your intended keycaps.
- Type for 2–3 days, swap in/out your favorites.
- Commit your chosen recipe to the full set.
The point isn’t chasing a mythical “perfect” sound; it’s building a repeatable process so you can make any board sound and feel like you.
Closing Thoughts: The Hobby is in the Details
Mass‑produced pre‑builts and factory‑lubed switches are genuinely better than ever, and that’s great. But the heart of this hobby—and what keeps people in the Switch Clack Lab community for years—is the fine‑grained control over feel and sound.
Tuning switches is where you turn generic, cloned parts into a personal instrument. Once you hear your first expertly tuned batch under your favorite caps, you stop asking if it’s worth the time and start planning the next build.
Mod one set. Listen carefully. Take notes. That’s where the fun really starts.