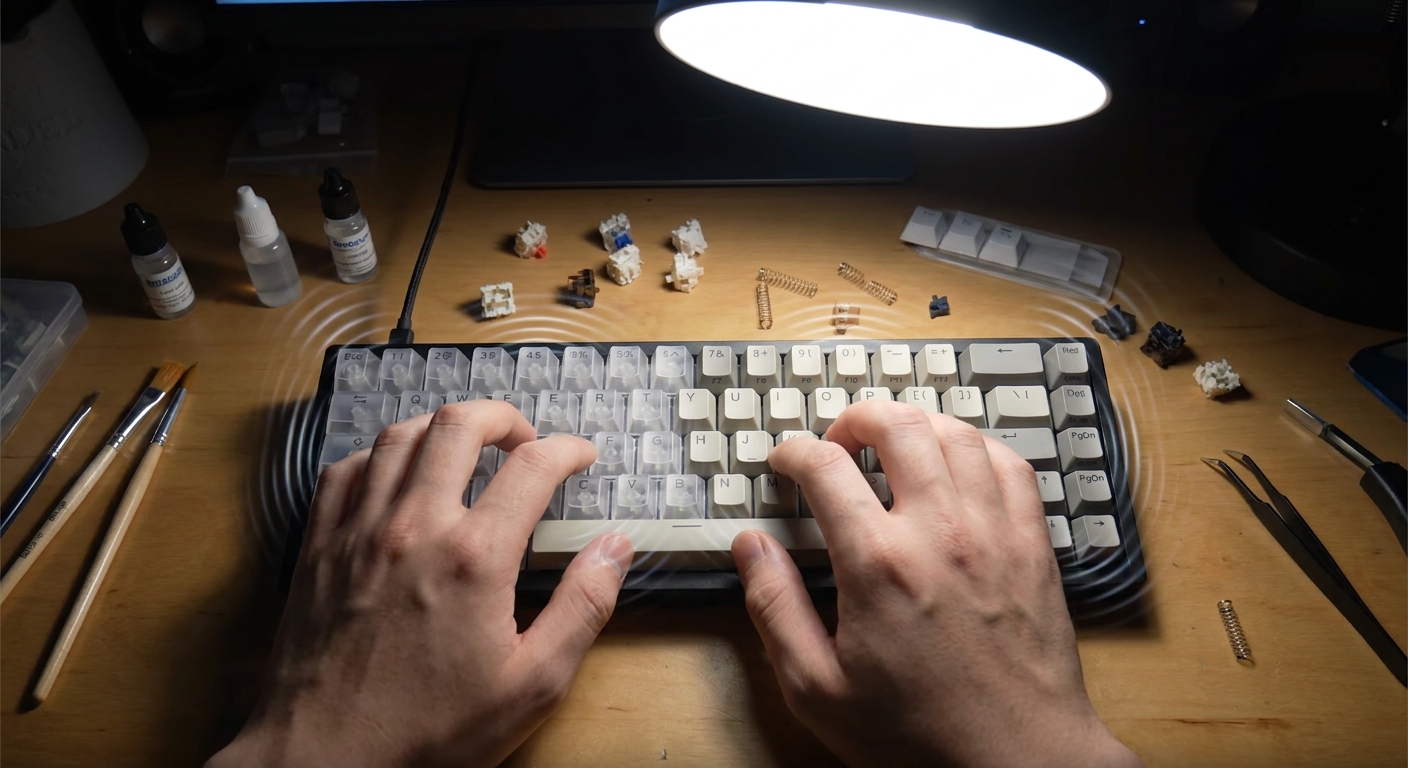
If your mechanical keyboard sounds thin, plasticky, or just "off," you can blame stock switches… but far more often, it’s the keycaps and acoustics doing the heavy lifting. Swapping caps can transform a rattly budget board into a legitimately satisfying daily driver.
Why Start With Keycaps When Tuning Your Board?
This is a practical blueprint: we’ll go step by step from a common, mediocre setup (thin OEM caps, unmodded switches) to a tuned build with upgraded keycaps, dialed-in sound, and refined feel. The focus is on real-world decisions: what to buy, what to mod, and how to hear the difference.
Step 1: Establish Your Baseline
Before you throw money at GMK or chase “endgame,” you need a baseline.
- Use your current board as-is.
- Likely specs: OEM ABS caps, pre-lubed (or dry) linears/tactiles, plastic case.
- Record a 15–20 second sound test.
- Simple typing, plus single key presses (Space, Enter, Backspace).
Note down what you dislike:
- Too sharp or pingy? - Hollow case echo? - Mushy or inconsistent key feel?
Keep that recording. Every change you make later should audibly improve on it.
Step 2: Understand What Your Current Keycaps Are Doing
Most prebuilt boards ship with thin OEM-profile ABS or thin PBT.
- OEM Profile: slightly taller than Cherry, steeper angle.
- Pros: familiar for gamers, wide availability.
- Cons: can be fatiguing for long typing sessions; sound tends to be brighter.
- Thin ABS:
- Sound: sharp, plasticky, hollow.
- Feel: light but insubstantial.
- Ages poorly—shine appears quickly.
- Thin PBT:
- Sound: slightly crisper but still lightweight.
- Feel: chalky at worst, mildly textured at best.
The key insight: your caps may be amplifying all the worst parts of your switches and case. That’s why this blueprint starts with a cap upgrade.
Step 3: Choose Your Target Sound & Feel
Before buying anything, decide where you want to land.
Sound Palettes
- Deep Thock:
- Characteristics: lower pitch, rounded bottom-out, softer top-out.
- Ideal combo: thick keycaps + damped case + smooth linears or medium tactiles.
- Clean Clack:
- Characteristics: moderate pitch, articulate but not shrill.
- Ideal combo: thick PBT caps + firmer plate + tactiles.
- Vintage Loud SA:
- Characteristics: big, boomy, typewriter-like resonance.
- Ideal combo: SA profile caps + solid case + linears/tactiles.
Feel Priorities
- Need long typing comfort? Go Cherry profile or low/medium height.
- Crave a dramatic, retro experience? Try SA.
- Want layout flexibility and uniform height? Consider DSA/XDA.
Lock in your target: _“I want a deep thocky daily driver with Cherry profile and linears.”_ This will guide the rest of the blueprint.
Step 4: Selecting the Right Keycaps (Realistic Options)
Here are honest recommendations at different budgets, with a focus on actual feel and sound, not just hype.
Budget (~$30–$50)
- Akko PBT Keycaps (ASA, Cherry-like, or OEM variants)
- Thick PBT, solid value.
- Sound: noticeable move towards fuller, more controlled tone.
- Legends: good enough for daily driving.
- NicePBT / budget ePBT sub-lines
- Cherry profile, reasonably thick.
- Sound: deeper than thin OEM, less plasticky.
These won’t match GMK precision, but they’re a massive improvement over thin stock.
Mid-Range (~$60–$100)
- ePBT Cherry Profile Sets
- Thick PBT, dye-sub legends.
- Great for enthusiasts who like textured caps and clear sound.
- Higher-end Akko collabs / themed sets
- Often improved colorways and QC.
Premium ($100+)
- GMK (Doubleshot ABS, Cherry Profile)
- The standard for thick ABS sound.
- Sound: warm, deep, and well-balanced.
- Legends: extremely crisp; colors are well-tuned.
- JTK Doubleshot ABS
- Similar target space as GMK with slightly different acoustics.
- Signature Plastics SA
- Very tall spherical caps, loud and characterful.
- For people who enjoy hearing every keystroke.
If this is your first serious upgrade, a thick Cherry-profile PBT set (Akko, ePBT, NicePBT) is the safest, most cost-effective jump in quality.
Step 5: Install and Evaluate – Listening Like a Tuner
Once your new caps arrive, it’s time for structured testing.
- Install just the alpha cluster first (Q–P, A–L, Z–M).
- Leave mods (Shift, Enter, Space, etc.) on your old caps.
- Type a paragraph.
Listen for:
- Pitch: Is it lower or higher than before? - Timbre: More hollow or more solid? - Consistency: Do all alphas sound relatively similar?
Then swap the mods too and repeat. You’re training your ear to recognize what the caps alone are doing.
If you don’t hear much difference, you may be limited by:
- A very hollow case
- Metal plate ringing
- Unlubed, scratchy switches
That’s where we push further.
Step 6: Light Mods That Supercharge Good Keycaps
You don’t need a soldering iron to unlock better sound. Some simple, reversible mods make your new keycaps shine.
1. Case Damping
- Tape the bottom shell with masking or painter’s tape.
- Reduces plastic resonance.
- Add thin foam (poron, EVA, or shelf liner) between bottom case and PCB.
- Be careful not to overpack; you want damping, not choking.
Effect on sound:
- Tighter, less echoey keystrokes.
- Lets the character of your caps and switches come forward.
2. PCB Tape Mod
- Apply 1–3 layers of painter’s tape to the back of the PCB.
- This changes how vibrations reflect inside the board.
Effect:
- Often yields a more muted, “marbly” thock, especially with PBT Cherry caps.
3. Simple Stabilizer Work
Keycaps won’t fix rattly stabs by themselves.
- Remove spacebar, Enter, Backspace, Shifts.
- Lube stabilizer housings and wires lightly with a dielectric grease or Krytox mix.
- For badly rattly plates, clip stabilizer feet (if they’re Cherry-style) and band-aid mod the PCB contact points.
Once done, reinstall your caps. Press Space and Enter slowly and listen. The deep tone from your new caps should no longer be ruined by metallic rattle.
Step 7: Profile Experiment – Tuning Ergonomics and Nuance
If budget allows, grab a second set in a different profile to A/B test.
Cherry vs OEM
- Cherry:
- Slightly lower; more neutral angle.
- Typically more comfortable for long typing.
- Sound can feel a bit more focused and less bright.
- OEM:
- Taller, steeper.
- Can feel more “aggressive.”
- Sound leans a bit brighter.
Cherry vs SA
- SA:
- Super tall; wide spherical tops.
- Increased travel, pronounced keypresses.
- Sound: more resonance, often a large, booming profile.
Multi-day test:
- Use Cherry for 3 full days of regular work/gaming.
- Swap to SA (or another profile) for 3 days.
Write down:
- Finger fatigue? - Typos or mis-hits? - Enjoyment vs annoyance of sound?
This deliberate approach prevents you from being seduced by novelty alone.
Step 8: Switch Matching – Making Caps and Switches Work Together
At this stage, you should have:
- A better case acoustically.
- Lubed and tuned stabilizers.
- At least one good set of keycaps.
Now we fine-tune with switch selection.
Deep Thock Build Example
- Case: plastic or polycarbonate with foam / tape mods
- Plate: polycarbonate or FR4 for softer impact
- Switches:
- Linears like Gateron Oil King, HMX Violet, JWICK Black (lubed)
- Keycaps:
- Thick Cherry-profile ABS (GMK/JTK) or thick PBT Cherry (ePBT)
Result:
- Low-pitched, rounded thock on alphas.
- Non-fatiguing for long typing.
Clean Tactile Build Example
- Case: aluminum or well-damped plastic
- Plate: aluminum or steel for more definition
- Switches:
- Medium tactiles like Boba U4T, Durock T1, Gazzew Browns
- Keycaps:
- Thick PBT Cherry or OEM
Result:
- Crisp bump feedback.
- Sound is articulate without turning shrill.
Keycaps here act as the acoustic lens. Thicker, quality caps sharpen or deepen what your switches are already doing.
Common Mistakes to Avoid
- Buying premium caps before understanding your preferences.
- Don’t spend $150+ on GMK as your first upgrade. Learn on solid PBT first.
- Ignoring stabilizers.
- Spacebar noise will ruin even the nicest cap set.
- Chasing profile hype.
- SA and KAT look amazing in photos but may cause fatigue for some people. Try lower profiles first.
- Overdamping your case.
- Too much foam kills character. Aim to control resonance, not eliminate it.
Putting It All Together: A Repeatable Upgrade Path
Here’s the full blueprint in order of biggest real-world gains for most hobbyists:
- Baseline: Record stock board.
- Keycaps: Move to thick Cherry-profile PBT or ABS.
- Case & PCB mods: Simple damping (foam + tape) to control hollowness.
- Stabilizers: Lube and tune to eliminate rattle.
- Profile experiment: Try a second profile once you know your sound goals.
- Switch matching: Choose linears/tactiles that complement your caps.
At each step, record a new sound test. You’ll literally hear your board evolve from rattly OEM clack to intentional, tuned thock.
Final Thoughts: Your Keyboard as a Lab
The most satisfying builds don’t happen by copying someone’s “endgame” parts list—they come from iterating and listening. Keycaps are one of the safest and most rewarding axes to experiment with: they’re swappable, visible, and profoundly influential on both feel and sound.
Treat your desk like a test bench:
- Swap profiles, record tests.
- Mix ABS alphas with PBT mods.
- Try the same caps on different switches.
In that process, you’ll discover not just what sounds good on YouTube, but what feels right under your fingers, at your desk, with your typing style. That’s when your keyboard stops being a generic tool and becomes a tuned instrument.