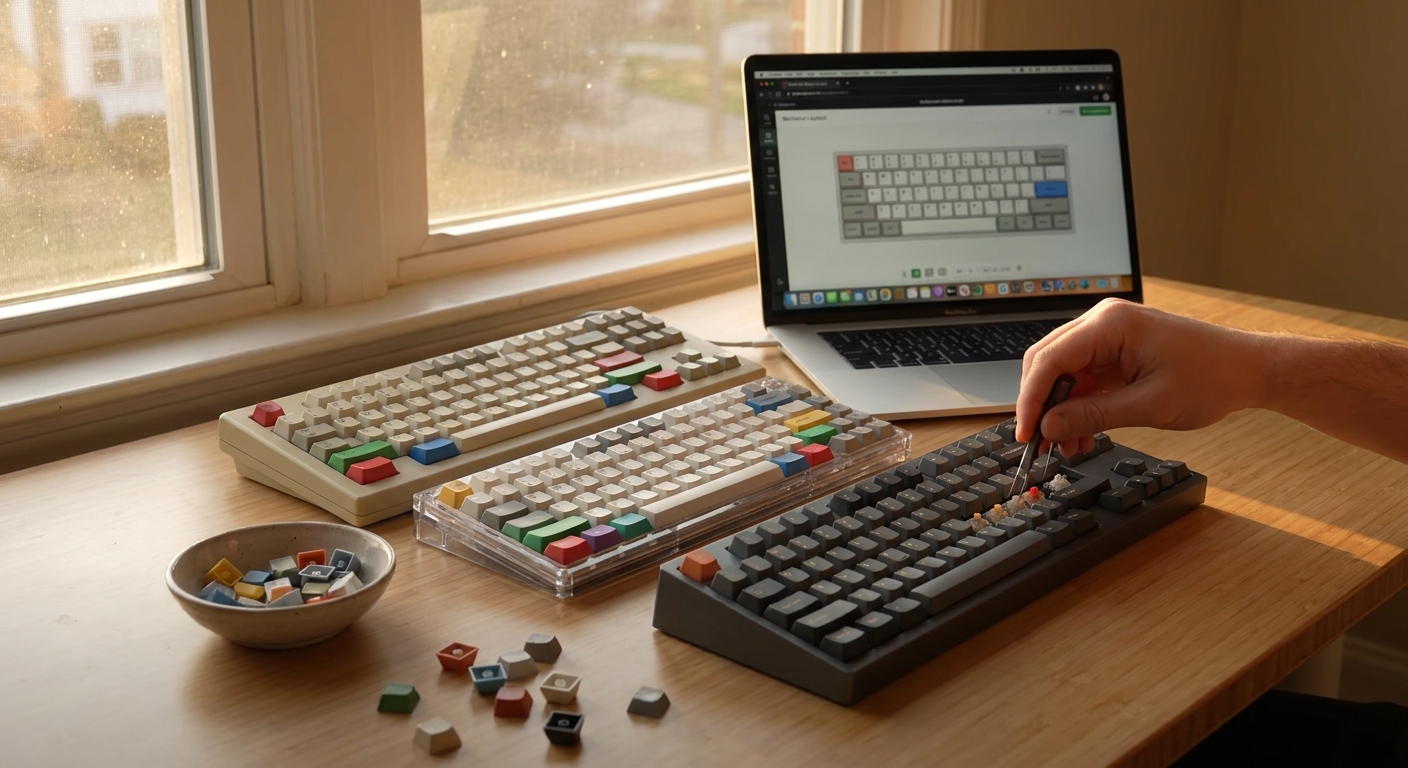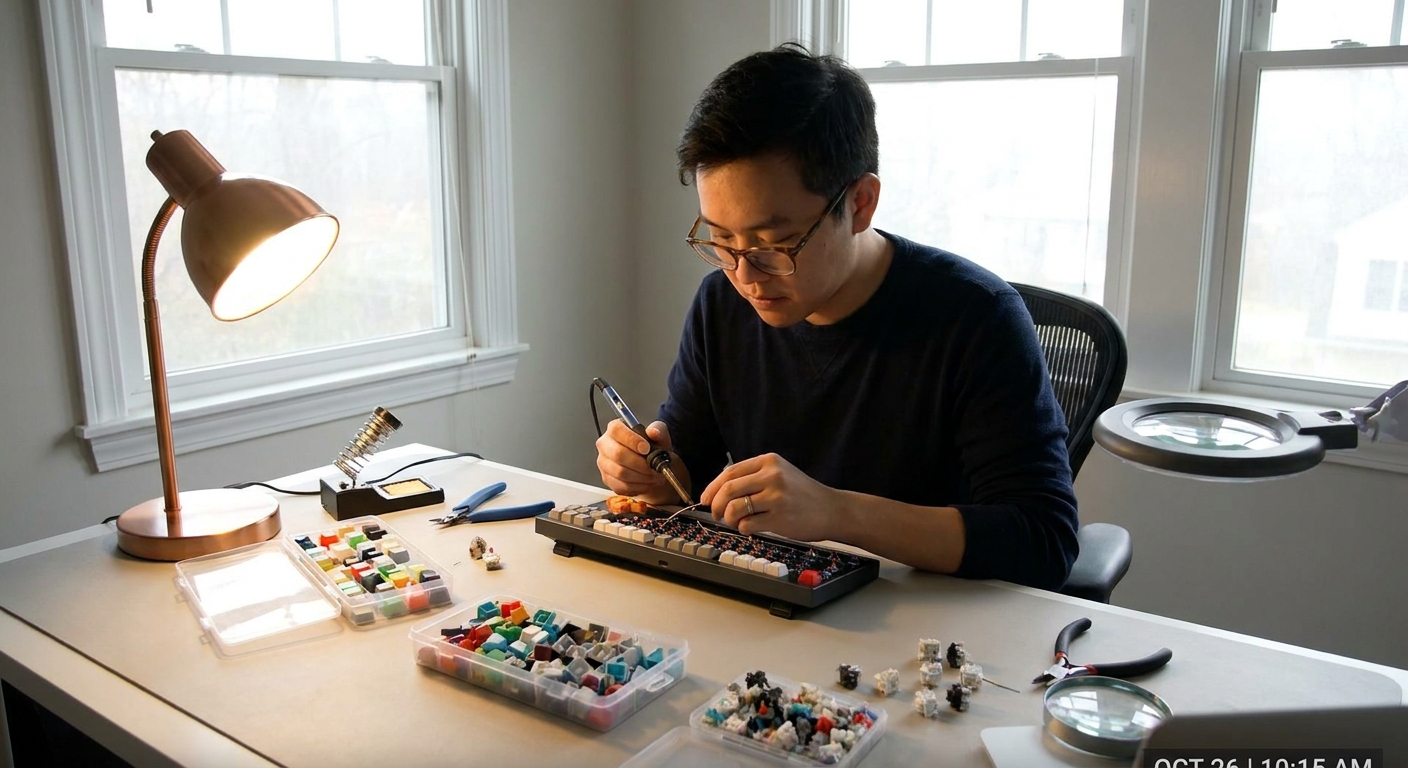
If you’re reading this, you’ve probably fallen down the rabbit hole: you know what a plate is, you’ve got an opinion on north vs south-facing switches, and you’ve watched at least three different people lube a switch in three different ways. This guide is for you—the hobbyist ready to build something that feels endgame (for now), not just “my first custom.”
Introduction
We’ll walk through a full build, but instead of just listing steps, we’ll obsess over feel, sound, and the small decisions that actually change the typing experience.
Step 1: Define Your Endgame Feel and Sound
Before buying parts, decide what you want the board to do for your hands and ears.
Ask Yourself:
- Primary use: Work, gaming, writing, or mixed?
- Sound goal: Thocky, clacky, marbly, muted, or clean and neutral?
- Feel goal: Soft and bouncy, firm and precise, or somewhere in between?
- Form factor: 60%, 65%, 75%, TKL, or full-size?
Some quick guidelines:
- Work / long typing sessions: Go for a softer, slightly muted build (gasket mount, POM or polycarbonate plate, mid-weight linears).
- Gaming: Prioritize fast, predictable switches (smooth linears, firmer springs) and a stiffer plate (aluminum or FR4) for stability.
- “Fun to type on” all-rounder: Gasket or top-mount, mid-flex, medium tactiles or light linears, and a warm, low-pitched sound.
Write these down. They’ll filter your choices later.
Step 2: Choosing the Case and Mounting Style
Your case and mounting style define the core character of the build.
Common Case Materials
- Aluminum: Heavier, solid, more premium. Sound is usually tighter and more focused. Great if you like a precise, “high-res” tone.
- Polycarbonate (PC): Lighter, more flexible, warmer and deeper sound. Often slightly more muted. Ideal for “marbly thock” builds.
- ABS/Plastic: Can sound surprisingly good—sometimes hollow if un-dampened, but mod-friendly and budget-friendly.
Mounting Styles (and How They Feel)
- Tray-mount: Common on budget boards. Plate/PCB is screwed into the bottom case. Can feel harsher, but foam and isolated mounting points can help.
- Top-mount: Plate is screwed to the top frame. Generally firm, controlled flex, and a clean, crisp sound.
- Gasket-mount: Plate/PCB sits on gasket strips. Softer landing, more even flex, often deeper and less harsh sound.
- Burger/top isolated mount: Uses rubber or silicone to decouple the plate from the case. Can simulate gasket-like softness with top-mount stability.
Honest recommendation: For a first serious “endgame-style” build, a gasket or top-mount 65% or 75% aluminum or PC board is the sweet spot. It gives you flexibility to tune for clack or thock.
Step 3: Plates, PCBs, and Layout Choices
Plate Materials and Their Impact
- Aluminum: Firm, snappy, slightly higher pitch. Great if you like a clean, articulate sound.
- FR4: Balanced stiffness and tone. Slightly damped vs aluminum, with a satisfying, focused bottom-out.
- Polycarbonate: Softer, more flex, deeper and more muted sound. Popular for thocky, comfy builds.
- POM: Very smooth feel, low-pitched and “plasticky-marbly” sound many people love.
If you want crisp clack, pick aluminum or FR4. If you want deep thock, pick PC or POM.
PCB Features to Look For
- Hot-swap vs solder: Hot-swap is perfect for your first build if you’re still exploring switches. Soldered gives you more layout options and long-term reliability.
- Flex cuts: Slots in the PCB that allow it to flex more. Can increase comfort but may reduce consistency of sound.
- Daughterboard (USB on a small PCB): Reduces stress on the main PCB and usually feels more premium.
Honest recommendation: For most builders, a hot-swap PCB with a polycarbonate or FR4 plate is the best mix of tweakability and performance.
Step 4: Switch Selection, Feel, and Sound
Switches are the soul of the build. Here’s how to pick wisely.
Linear, Tactile, or Clicky?
- Linear: Smooth motion, no tactile bump. Best for consistent actuation, gaming, and quiet-but-solid builds.
- Tactile: Noticeable bump, satisfying for typing, gives feedback without much noise.
- Clicky: Audible click and usually a tactile bump. Fun, but less appreciated in shared spaces and customs (harder to tune sound-wise).
Enthusiast-Favorite Switch Types (Examples, not sponsors)
For Smooth, Satisfying Linears
- Gateron Oil Kings: Deep, slightly muted sound, pre-lubed decently, with a thick, cushioned bottom-out.
- Tecsee Onikata / Domikey switches: Generally deep-leaning, smooth linears that sound excellent in PC or POM plates.
- WUQUE Studio WS linears (e.g., WS Morandi): Very smooth, neutral sound, great for work builds.
Feel: Expect a glassy, frictionless downstroke with a controlled, clean bottom-out. In a gasket-mount PC build, this becomes buttery and low-pitched.
For Characterful Tactiles
- T1-style tactiles: Rounded, medium bump. Great all-day typing switches.
- Durock/JWK medium tactiles: Clean, firm bump, excellent with a bit of lube on rails and springs.
Feel: You’re looking at a pronounced but not harsh bump, then a crisp bottom-out. In aluminum plates, this can feel sharper; in PC plates, more cushioned.
Lube or Not to Lube?
- Linears: Lube is almost mandatory for enthusiast-level smoothness.
- Tactiles: Light lube on springs and rails only—avoid the legs if you like a sharp bump.
- Clickies: Usually left stock; lubing can kill the click.
Use Krytox 205g0 (or similar) for linears in a thin application and Tribosys 3203/3204 for tactiles where you want to preserve bump clarity.
Step 5: Stabs, Mods, and Rattle Control
Nothing ruins a premium build like rattly stabilizers.
Stabilizer Types
- Screw-in: Most stable and recommended. They anchor firmly into the PCB.
- Clip-in / plate-mount: Common on prebuilds. Serviceable, but not ideal for a serious custom.
Tuning Method (High-Level)
- Holee or wrap mod (optional): A small piece of bandage or tape on the wire where it meets the stem to remove play.
- Wire lube: Thicker grease (e.g., dielectric or XHT-BDZ) on the wire ends.
- Housing/stem lube: Light coat of 205g0 or 3204 to reduce friction.
The goal: a stable, muted “thud” on long keys with no tick on light taps.
Step 6: Keycap Profiles and Materials
Keycaps change both feel and sound more than many people expect.
Profiles (Shape and Height)
- Cherry: Sculpted, low-ish, widely loved. Feels controlled and precise.
- OEM: Similar to Cherry but slightly taller. Common and comfortable.
- SA: Tall, heavily sculpted, chunky. Big, resonant, and satisfying if you like a “typewriter” feel.
- DSA / XDA: Uniform, flat profiles. Great for alternative layouts but some find them fatiguing.
Materials
- PBT: Textured, less shine-prone, deeper and more muted sound.
- ABS (thick, high-quality): Smooth, can develop shine, often slightly higher-pitched but with a classic “clack.”
Honest recommendation: For most hobbyists, thick PBT in Cherry profile offers the best combo of comfort, sound, and durability. If you love bold, resonant sound and don’t mind the height, try SA profile on a deep-sounding build.
Step 7: Assembly and Fine-Tuning the Sound
Foam, Tape, and Other Acoustic Mods
- Case foam: Fills empty space, cuts hollowness, and lowers overall volume.
- Plate foam: Between plate and PCB; tames ping and sharp frequencies.
- PE foam (between PCB and switches): Adds “poppy” character, brightens individual keystrokes. Popularized by the “PE foam mod” meta.
- Tape mod (on the back of the PCB): One to three layers of masking tape for added pop and resonance.
If you want deep and controlled: Case + plate foam, skip PE, maybe 1–2 layers of tape.
If you want poppy and bright: Light case foam, PE foam, and 2–3 layers of tape.
Test, Listen, Adjust
- Do a barebones sound test before foam.
- Add mods incrementally and record after each step.
- Aim for consistent sound across the board—no random hollow keys.
Step 8: Honest Gear Recommendations by Use Case
Work/Typing-Focused 65% or 75%
- Case: Aluminum or PC, gasket mount.
- Plate: FR4 or PC.
- Switches: Oil Kings or other mid-weight linears; medium tactiles if you need more feedback.
- Keycaps: Thick PBT Cherry profile, dye-sub or doubleshot.
- Mods: Case foam, lightly tuned stabs, 1–2 layers of tape.
Sound: Deep, controlled, professional, with a soft-but-present bottom-out.
Gaming-First Build
- Case: Aluminum or stiff plastic.
- Plate: Aluminum or FR4.
- Switches: Light linears with slightly stiffer springs for fast reset.
- Keycaps: PBT or ABS Cherry/OEM.
- Mods: Minimal foam to keep response snappy; tuned stabs; no heavy damping.
Sound: Crisp, articulate, and responsive, slightly higher pitched but still clean.
Fun, Thocky Desk Showpiece
- Case: Polycarbonate or deep aluminum case.
- Plate: PC or POM.
- Switches: Deep-sounding linears (Oil Kings, WS linears, JWK variants).
- Keycaps: Thick PBT or thick ABS in Cherry/SA.
- Mods: PE foam, plate foam, tape mod, well-tuned stabs.
Sound: Marbly, low-pitched thock with a bit of pop—the classic custom keyboard YouTube sound.
Closing Thoughts
Building an endgame-feeling keyboard isn’t about chasing the most expensive parts; it’s about understanding how each choice shifts feel and sound. If you can describe what you want—deep vs bright, soft vs firm, pop vs thock—you can build toward it on almost any budget.
The best part: your “endgame” will move. Take notes, record sound tests, swap switches and keycaps between builds. The deeper you go, the better your next board will be.
When you’re ready to obsess over your next build, we’ll be here at Switch Clack Lab, still arguing about whether FR4 or POM is the true path to keyboard nirvana.