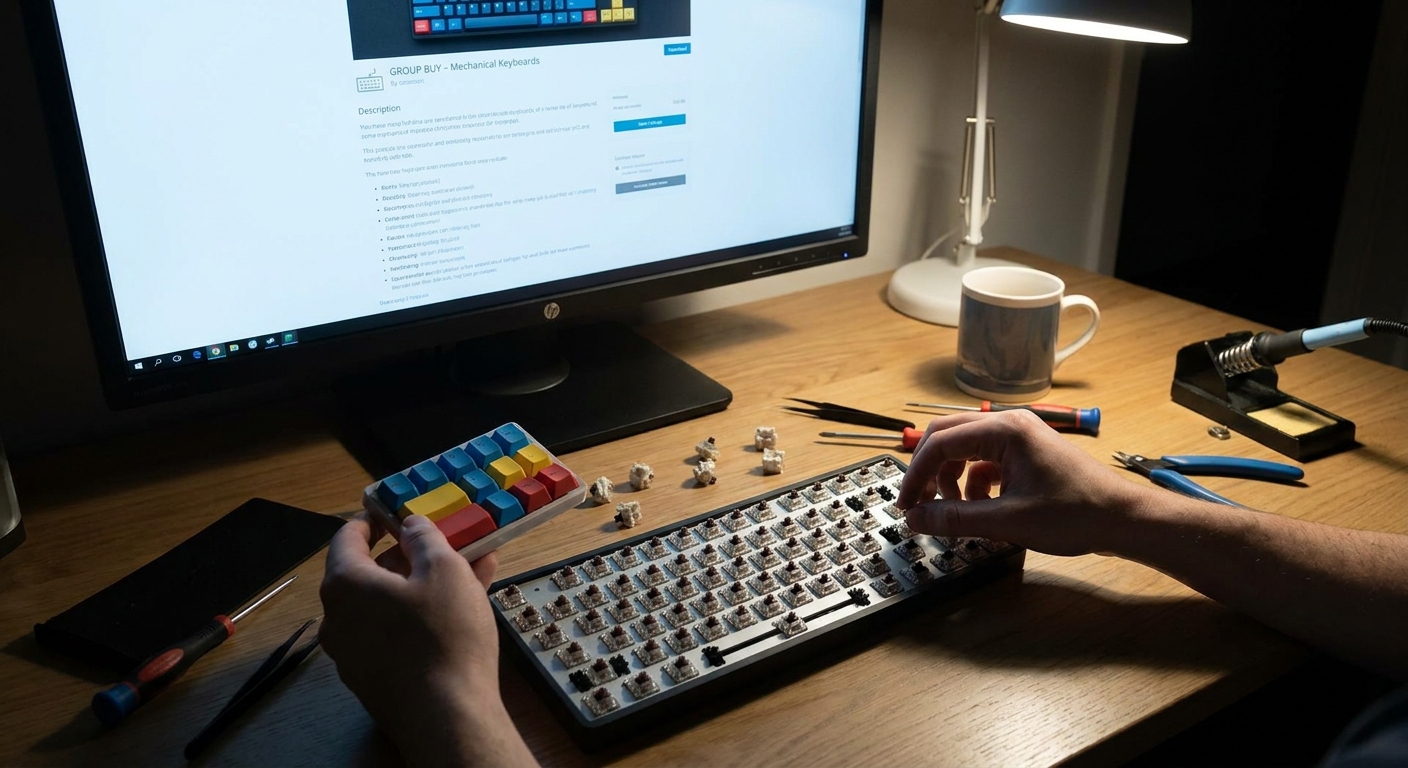
Retail boards are fine. But if you’ve ever heard a perfectly tuned custom—deep, rounded bottom-out, clean stabilizers, keycaps that feel expensive—you know there’s another level. Group buys are how we get there without paying for full custom one-offs.
The Real Reason Group Buys Matter
A group buy lets a designer hit minimum manufacturing quantities by pooling our orders. In return, we get layouts, plates, switches, and keycaps that would never exist on a normal store shelf.
This article is a step-by-step blueprint for using group buys to build your dream keyboard: from defining your target sound and feel, to picking the right GBs, to the exact build and mod sequence once boxes start arriving.
Step 1: Define Your Target Sound and Feel (Before You Join Anything)
Most people do this backwards: they join group buys based on renders, then try to force the sound they want out of whatever shows up.
Flip that process.
Decide Your Sound Signature
Listen to sound tests and pay attention to what you like:
- Deep & muted: Low-frequency thock with minimal ping or resonance.
- Deep but lively: Thocky with some natural reverb; not a foam coffin.
- Clacky & crisp: Higher pitched, fast, typewriter-adjacent.
- Marbly/ceramic: Glassy, unique timbre, often on aluminum + brass setups.
Decide Your Feel
- Soft and bouncy: Gasket/leaf spring mounts, flexible plates, long-pole linears or medium tactiles.
- Firm and precise: Top mount or burger mount, stiffer plates, short or normal stem switches.
Write it down like a target spec sheet. Example:
> Goal: 65% gasket board, deep but slightly lively thock, medium-weight linears, Cherry profile caps, minimal foam.
This sheet becomes your filter for every group buy.
Step 2: Choosing the Right Keyboard Group Buy
Once you know what you want, you can actually be picky.
Layout and Compatibility
Focus on:
- Primary layout: 60/65/75/TKL/1800? If you code or game, a 65% or TKL is a safe starting point.
- Key unit sizes: 7u vs 6.25u space, split backspace, stepped Caps Lock, ISO.
Make sure the GB supports common layouts. Exotic layouts can be fun, but replacement PCBs/plates later are harder to find.
Mounting & Plate Choices
Match mount style to your target feel:
- Gasket mount: Ideal if you wrote “soft and bouncy” or “deep & muted.” Works wonderfully with long-pole linears.
- Top mount: Ideal for people who want consistent travel and clearer feedback—great for tactiles.
- Burger mount / isolated top: A nice compromise with a little bounce.
Plate material hierarchy for sound and flex:
- Aluminum: Medium to bright, controlled, mild flex.
- Brass: Brightest, heaviest, often the most unforgiving.
- FR4: Balanced, dry, slightly snappy.
- Polycarbonate (PC): Soft, deeper, more flex.
- POM: Very smooth and slightly deeper than PC; extremely popular in thock builds.
If your target is a deep, modern thock, a gasket board with PC or POM plate is a winning combo.
Internal Acoustics & Design Details
Look at:
- Case weight and construction: Heavier cases (especially with internal weights) stabilize low frequencies.
- Daughterboard vs USB cutout on PCB: Daughterboards reduce stress and sometimes noise from flex.
- Foam implementation: If the designer has thought about switch foam, plate foam, and case foam as options (not mandatory), that’s a good sign.
Step 3: Using Switch Group Buys Strategically
Switch GBs are where you can really fine-tune your personal sound.
Linears: Building Your Baseline
For most people, a good linear build is the best reference. Once you know your favorite linear sound, you can branch into tactiles and silents.
Key specs to watch in linear GB switches:
- Stem length & pole type:
- Long-pole: Shorter travel, louder, crisp bottom-out. Great for modern “pop thock.”
- Normal pole: Full travel, more classic mechanical feel, often slightly quieter.
- Spring weight:
- 55–60 g: Light, fast.
- 60–63.5 g: Balanced daily driver territory.
- 65 g+: Heavier, more deliberate.
- Housing materials:
- POM or nylon bottoms give deeper, fuller sound.
- PC tops emphasize clarity and brightness of the top-out.
If your board is bright (alu case + alu/brass plate), consider nylon-heavy housings for warmth.
Tactiles: Adding Character
Tactile GBs are about bump geometry and sound:
- Early, rounded bump + long-pole + nylon bottom housing → thick, weighty feel, strong downstroke thock.
- Mid-travel bump + polycarbonate housing → more articulate, less bass, clear tactility.
Tactiles excel in top mount or less foamed builds, where the bump feel doesn’t get lost in mush.
Silents: Practical but Tunable
Silent GBs can be divisive, but paired with the right board:
- Look for silicone dampeners that don’t overly compress.
- Choose nylon housings for a deeper, less plasticky sound.
If you’re going silent, let the board’s acoustics do more work and use less foam than you would with loud linears.
Step 4: Keycap Group Buys as the Final Tuning Layer
Keycaps are not just aesthetics; they’re your most swappable acoustic layer.
Profile and Feel
- Cherry profile (ABS or PBT):
- Low height, sculpted. Strong default choice.
- Feels fast, easy to adjust to.
- SA / MT3 / tall profiles:
- Big sound chambers with thick plastic.
- Heavier feel; some love it, some don’t.
- KAT / KAM / uniform PBT:
- Thicker walls, uniform rows.
- Very stable, often more muted.
If you lean toward precision and speed, Cherry profile is the safe anchor. If you crave maximal thock and vintage vibes, thick SA/MT3 is worth the commitment.
Material and Sound
- ABS double-shot:
- Starts slightly sharper, ages into a warm, rounded clack.
- You’ll hear more of your board’s natural character.
- PBT dye-sub / double-shot:
- Generally deeper and more muted.
- Great for taming harsh boards or bright plates.
Think of it this way: If your base build is already dark and thick-sounding, ABS will keep it articulate. If your base build is bright or pingy, thick PBT acts as a buffer.
Step 5: Planning Your Build and Mods During the GB Wait
While you wait 6–12 months, you can assemble the rest of the puzzle.
1. Stabilizers First
Stabs control the sound of your largest keys: spacebar, Enter, Shift.
- Get a reliable set (Durock, TX, Owlstab, or proven the OEM from the GB).
- Mods to plan:
- Clip (if necessary) and lube the housings with thick lube (205g0 or equivalent).
- Dielectric grease on the wire where it meets the housing.
- Band-aid or tape under the stab inserts if the PCB cutouts allow.
Proper stabs can turn your board from rattly to broadcast-quality.
2. Switch Lube Station
Decide your lube strategy based on your switch GB:
- For linears:
- 205g0 or similar on stem rails and bottom housings.
- Thin oil on springs.
- Optionally, films if housings are loose.
- For tactiles:
- 3204 or lighter application.
- Avoid fully coating the bump if you want a clean, sharp tactile event.
Use the wait time to practice on cheaper switches so you don’t botch your GB set.
3. Foam & Tape Prep
You don’t need every mod in the book, but it’s nice to have options ready:
- Plate foam: Evens out the sound and tightens the note.
- Case foam: Fills hollowness; use sparingly if you like natural reverb.
- PE foam (plate/PCB layer): Adds pop and thock but can homogenize sound.
- Tape mod on PCB: Blue painter’s tape on the back of the PCB deepens and compresses tone.
Get small sheets and experiment on a cheaper board first to find your personal preferences.
Step 6: Assembly Day – A Practical Build Walkthrough
When the GB finally ships, clear your desk and walk through this sequence.
1. Dry Fit and Test
- Install stabs on PCB.
- Drop in plate and a handful of switches at the corners.
- Plug into your PC and test in VIA/QMK.
Fix any dead or misaligned switches before full assembly or soldering.
2. Tune Stabilizers
- Test stabilizers with keycaps on: space, Enter, Backspace, Shift.
- Listen for:
- Rattle (wire shaking inside housing).
- Tick (wire catching on housing lip).
- Hollow or metallic echo.
- Pull and re-lube as needed. Take your time—this is where quality builds are made.
3. Decide Your Foam Stack
Start simple:
- No foam at all: Build the board bare and record a sound test.
- Add plate foam only: Build again and record.
- Add case foam last if it still feels hollow.
If you’re using PE foam, try a run with and without it. PE foam + long-pole linears + POM/PC plate can give you the modern marbly pop that’s popular right now, but you might prefer a more organic tone.
4. Full Switch Install
- Carefully seat every switch so pins don’t bend.
- Solder (if required) in diagonals, checking for straightness.
- Wipe flux residue if necessary.
5. Final Assembly & Test
- Close the case, torque screws evenly.
- Test every key again.
- Take a final sound test at your normal typing speed and a slower pace.
This last step helps you decide whether to swap keycaps or tweak foam.
Step 7: Iterating with Keycaps and Switches
Once the board is built, you’re not locked into a single configuration.
Cap Swaps
Try changing only keycaps first:
- ABS → PBT: Expect deeper, more muted tone.
- PBT → ABS: Expect more clarity, especially in higher frequencies.
- Cherry → SA/MT3: Expect more bass and body but slower-feeling key travel.
Record quick clips and note what feels closest to your original target spec.
Switch Experiments
If you joined multiple switch GBs, this is where you experiment:
- Long-pole linears vs standard linears in the same board.
- Tactiles on a top-mount plate vs the gasket plate.
This kind of A/B testing is how you calibrate your taste.
Step 8: Building a Cohesive Collection with Future Group Buys
Once you’ve built one dream-ish board, the temptation is to chase more GBs randomly. Resist that.
Instead, use your experience to build a small, coherent collection:
- One deep-thock linear board (65% or 75%) with a soft mount and POM/PC plate.
- One tactile-focused top-mount board with a firmer plate and less foam.
- One silent or office-friendly build tuned for minimal noise but good feel.
Use group buys deliberately:
- Keyboard GBs: To nab unique layouts and mounting styles you don’t own yet.
- Switch GBs: To refine your preferred springs, housings, and stem geometries.
- Keycap GBs: To collect a handful of thick, high-quality sets that can rotate across boards.
Each GB should have a purpose: filling a specific gap in your sound/feel matrix.
Honest Gear Recommendations for GB-Centric Builders
Boards & Mounts
- Get at least one gasket mount board from a reputable GB to understand the modern thock meta.
- Get at least one top-mount or burger-mount for tactiles and brighter, more classic customs.
Switches
- Linears: A well-reviewed long-pole linear plus a smooth, full-travel linear give you two reference points.
- Tactiles: One strong-bump set (Boba-style) and one moderate-bump set.
Keycaps
- One thick Cherry PBT neutral set.
- One ABS Cherry set from a trustworthy manufacturer.
- Optionally, one tall profile set (SA/MT3) to explore that acoustic range.
Tools & Supplies
- Kalih/Gateron-capable switch opener.
- Good brushes (size 00 or 000) and lube station.
- A small pile of foam sheets (Poron, PE) and painter’s tape for experimentation.
Closing Thoughts: Group Buys as a Craft, Not a Gamble
Used intentionally, group buys are less like impulse preorders and more like commissioning instruments. You choose layouts, plates, switches, and caps that all serve a sound and feel you’ve clearly defined.
The fun isn’t just in unboxing a board 9 months later. It’s in the entire arc: reading ICs critically, planning your mods, practicing on budget parts, and—finally—hearing that first keystroke on a build that exists because a small community of enthusiasts decided it should exist.
If you approach each group buy with a blueprint instead of FOMO, every board you build will sound and feel more intentional. And over time, you won’t just be chasing "thock"—you’ll know exactly how to create your own version of it, from switch leaf to keycap legend.