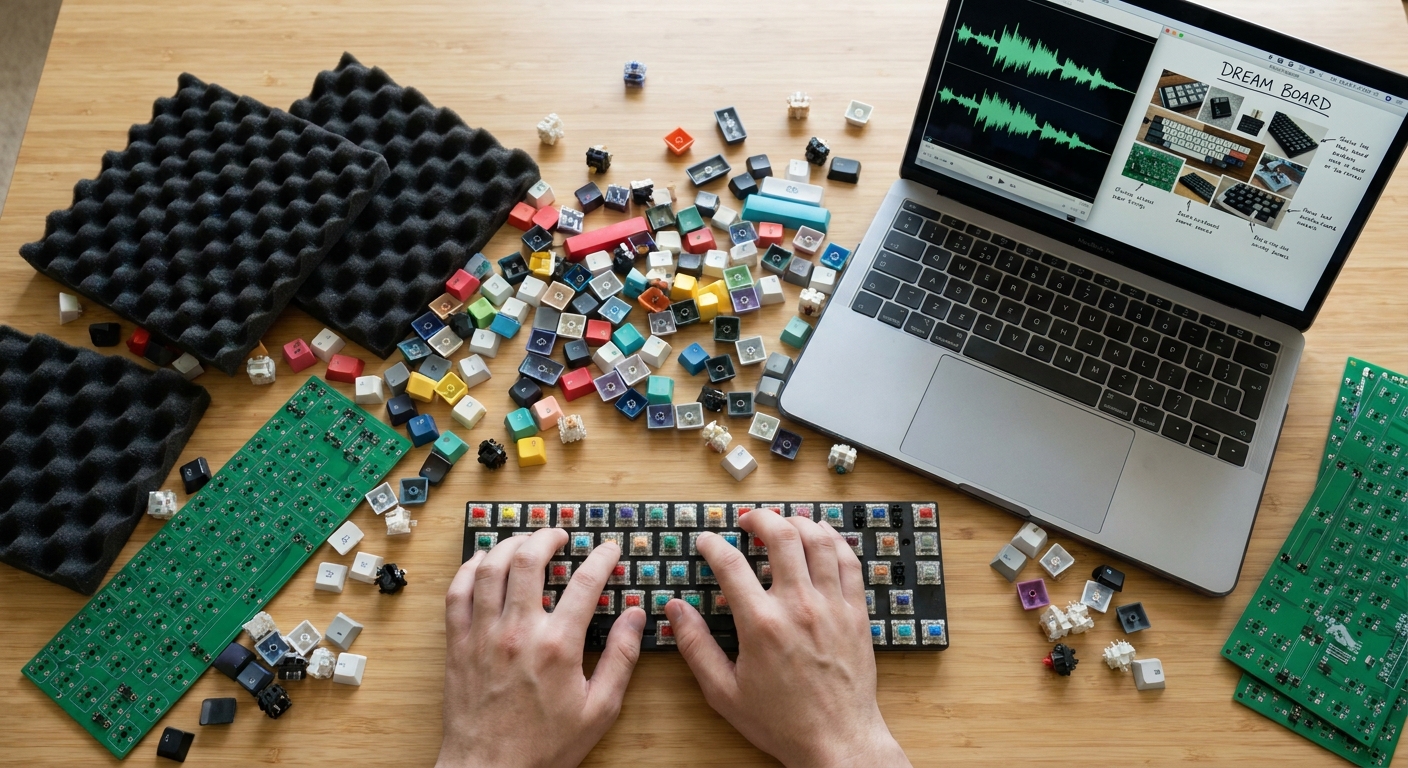
If you’re staring at a cart full of switches, keycaps, and a random hot‑swap barebones wondering “Am I about to waste a lot of money?”, this guide is for you.
Introduction: Building Your First Board Without Regrets
This is a buying guide written from the perspective of a hobbyist who has seen too many first builds end up in the drawer because:
- the sound wasn’t what they expected,
- the layout was annoying to use,
- or the parts didn’t play nicely together.
We’ll walk through each component you actually need, how it affects feel and sound, and what’s genuinely worth spending on for a first build.
Step 1: Choose the Right Layout (Before You Buy Anything Else)
Layout is where most people make their first big mistake. Don’t start with switches. Start with what you type on.
Common Layout Choices
- Full‑size (104/108)
- Pros: Dedicated numpad, media keys, no compromises.
- Cons: Huge. Poor mouse space. Limited custom case options.
- TKL (Tenkeyless, 87/88)
- Pros: No numpad, but retains F‑row, arrows, navigation. Great balance for office + gaming.
- Cons: If you love numpads, you will miss it.
- 75%
- Pros: Compact with dedicated arrows and F‑row in tight cluster. Lots of customs available.
- Cons: Dense layout, some keys reshuffled. Cheap keycap sets may not support it well.
- 65%
- Pros: Sweet spot for many hobbyists: arrows + nav cluster in a small footprint.
- Cons: No F‑row; you’ll use layers or macros.
- 60%
- Pros: Classic custom layout. Tiny footprint, tons of cases and PCBs.
- Cons: No arrows or F‑row by default. Layers become mandatory.
Buying guide tip: For a first custom, 65% or TKL is ideal. Enough keys to feel familiar, small enough to justify a custom case.
Step 2: Case & Mounting – The Backbone of Feel and Sound
Your case and mounting style control the macro characteristics of your sound and feel.
Case Materials
- Plastic (ABS/Polycarbonate)
- Sound: Usually softer, more muted, can be thocky with the right setup.
- Feel: Slightly more flexible; often more forgiving of inconsistencies.
- Buying note: Great for budget or if you want a deeper, less metallic sound.
- Aluminum
- Sound: Tighter, higher pitched, with more definition to each keystroke.
- Feel: More solid and weighty.
- Buying note: Best “first custom” material. Tons of case options. Easy to resell.
- Other materials (Brass, Steel, FR4, Acrylic, Wood) are specialist choices—consider them once you understand your preferences.
Mounting Styles
- Tray mount (common in budget boards)
- Plate screwed directly to the case bottom.
- Can feel inconsistent row to row; often stiffer in some areas.
- Top mount
- Plate screwed into top frame.
- Classic custom feel; fairly firm with a focused sound.
- Gasket mount
- Plate isolated by rubber/poron gaskets.
- Softer, more flexible, often deeper sound, depending on materials.
- Burger/Isolation variations
- Screws + washers to decouple plate and case slightly.
- Budget way to get a more forgiving feel.
Buying guide tip: For a first custom, a budget/top‑end entry aluminum gasket or top‑mount kit is a sweet spot. You’ll immediately understand why people leave pre‑builts behind.
Step 3: Switches – Translating Preference into Plastic and Metal
This is where enthusiasts obsess, and also where first‑timers overspend.
Switch Types
- Linear: Smooth travel, no tactile bump.
- Feel: Glide straight down; bottom‑out is the main feedback.
- Sound: Can be thocky (deep) or clacky (higher) depending on housing and lube.
- Great for: Gaming, fast typists, people who hate scratch.
- Tactile: Noticeable bump during travel.
- Feel: Clear event when the key actuates.
- Sound: Slight crunch or pop around the bump.
- Great for: Typists who want feedback, ‘holy panda’ enjoyers.
- Clicky: Audible click mechanism.
- Feel: Tactile + click event.
- Sound: Loud. Polarizing.
- Great for: Very specific people. Probably not your first custom.
Describing Feel and Sound (With Examples)
- Gateron Yellow (and similar budget linears)
- Feel: Medium‑weight, can be slightly scratchy stock, greatly improved when lubed.
- Sound: Neutral to slightly higher pitched on aluminum, deeper on polycarbonate.
- Cherry MX Brown (and modern tactile clones)
- Feel: Light, mild bump, not very dramatic.
- Sound: Gentle, unobtrusive; not very ‘characterful’ on its own.
- Holy Panda‑style tactiles
- Feel: Sharp, early bump with a bit of post‑bump travel. Satisfying for many typists.
- Sound: Chunky; can be a rounded ‘thock’ with foam and thicker caps.
- If you’re unsure, start with linears – easier to tune, more forgiving in sound.
- If you love feedback, one of the many modern medium tactiles is safer than going straight to super‑aggressive tactiles.
Buying guide tip: For a first build:
Step 4: Plates, Foam, and the Sound‑Shaping Stack
Plate Material
- Aluminum plate
- Firm feel, defined bottom‑out, brighter sound.
- Polycarbonate (PC) plate
- Softer, more flexible, deeper and rounder sound, slightly muted top‑end.
- FR4 (PCB material)
- In‑between stiffness, pleasing and balanced tone. A community favorite.
Buying guide tip: If you chase deeper sound and softer feel, go PC or FR4. If you want more ‘crispness’, aluminum is fine.
Foams and Dampening
- Case foam: Between PCB and case bottom. Reduces echo and hollowness.
- Plate foam: Between plate and PCB. Can increase switch isolation and deepen sound.
- PE foam / switch pads: Can add a ‘marbly’ or ‘poppy’ sound many customs are known for.
Honest advice: Don’t over‑foam your first build. Start with case foam only (if needed), then experiment. Too much foam can kill character.
Step 5: Keycaps – Profile, Material, and Sound
Keycaps are simultaneously aesthetic and acoustic tuning tools.
Materials
- ABS
- Feel: Smooth, can develop shine.
- Sound: Often brighter, more ‘clacky’ and crisp.
- Good ABS (GMK, ePBT ABS) sounds rich; cheap ABS can sound thin.
- PBT
- Feel: Slightly textured, resists shine longer.
- Sound: Slightly deeper and more muted than ABS in many builds.
Common Profiles
- Cherry profile (sculpted, short)
- Feel: Low and comfortable; many enthusiasts’ default.
- Sound: Deep, dense, especially with thick keycaps.
- OEM profile (sculpted, medium)
- Feel: Common on pre‑builts; slightly taller than Cherry.
- Sound: Slightly brighter, but depends on thickness.
- SA profile (sculpted, tall, spherical)
- Feel: Big, bold keycaps; can be polarizing.
- Sound: Boomy, resonant, very distinctive.
- DSA / XDA (flat profiles)
- Feel: Uniform rows; great for alternative layouts.
- Sound: Depends on material, but often more even row‑to‑row.
Buying guide tip: For a first custom, a thick PBT Cherry‑profile set is a safe, versatile choice: deepish sound, comfortable, and widely available.
Step 6: Essential Mods to Budget For
These are low‑cost but high‑impact buys that belong in your first build shopping list.
1. Switch Lube and Film
- Krytox 205g0 / equivalent for linears & light tactiles.
- Thinner lube (e.g., 3203/3204) for sharper tactiles if you don’t want to kill the bump.
Films: Not always required; great for sloppy housings (many budget switches). Tightens sound and feel.
2. Stabilizer Tuning Supplies
- Dielectric grease (for wires into housings).
- Thin lube (for stabilizer stems).
- Optional: Band‑aid / tape mod for bottom‑out dampening, or pre‑clipped stabs.
Properly tuned stabilizers are the difference between a “custom” and “a rattlebox.” Allocate time and a few dollars here.
Step 7: A Sample First‑Build Parts List (Honest Recommendations)
This is not sponsored; it’s a reality‑checked template you can adapt.
- Layout: 65% or TKL hot‑swap
- Case/Kit: Entry‑level aluminum gasket/top‑mount kit from a reputable vendor (avoid sketchy no‑name listings).
- Plate: FR4 or polycarbonate.
- Switches:
- Linears: Gateron Yellow/K Pro Reds/KTT equivalents (plus lube).
- Tactiles: A medium‑bump option (not ultra‑aggressive Pandas) with good stock performance.
- Stabilizers: Screw‑in, from a known brand (Durock, TX, etc.).
- Keycaps: Thick PBT, Cherry profile, full base kit (65%/TKL compatible).
- Mods: Case foam (if needed), lube, optional films, basic tools (switch puller, keycap puller, screwdriver).
Final Thoughts: Buy for the Journey, Not the Endgame
You will build more than one keyboard. The goal of your first build isn’t perfection—it’s learning what you actually like.
Spend where the experience scales with future builds:
- a good hot‑swap case/kit you can reuse,
- proper tools and lubes,
- and a layout you won’t hate in three weeks.
Once you’ve lived with this first build for a few months, your next round of buying choices will be driven by real preferences, not just YouTube sound tests. That’s when the fun (and the real rabbit hole) begins.